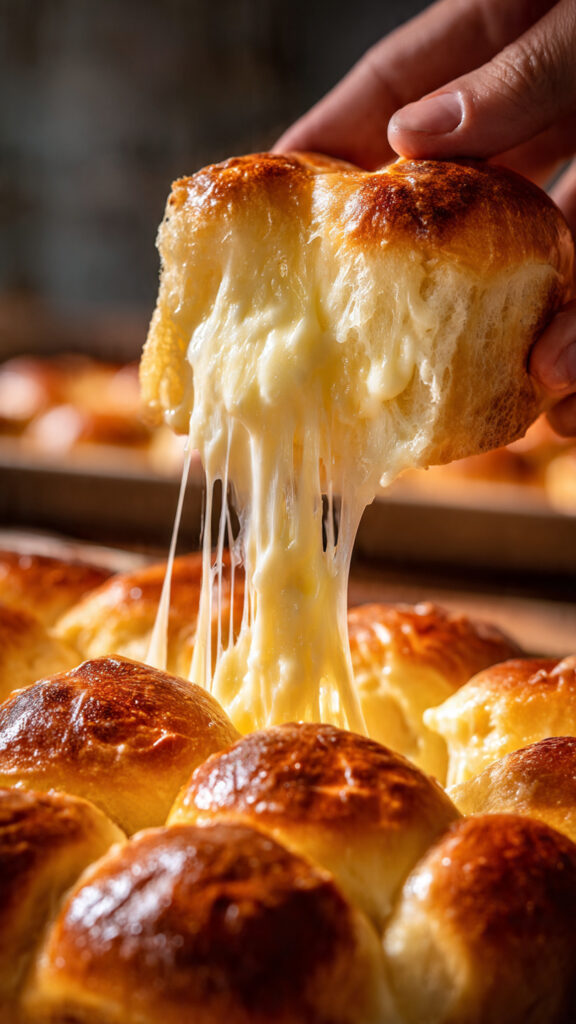
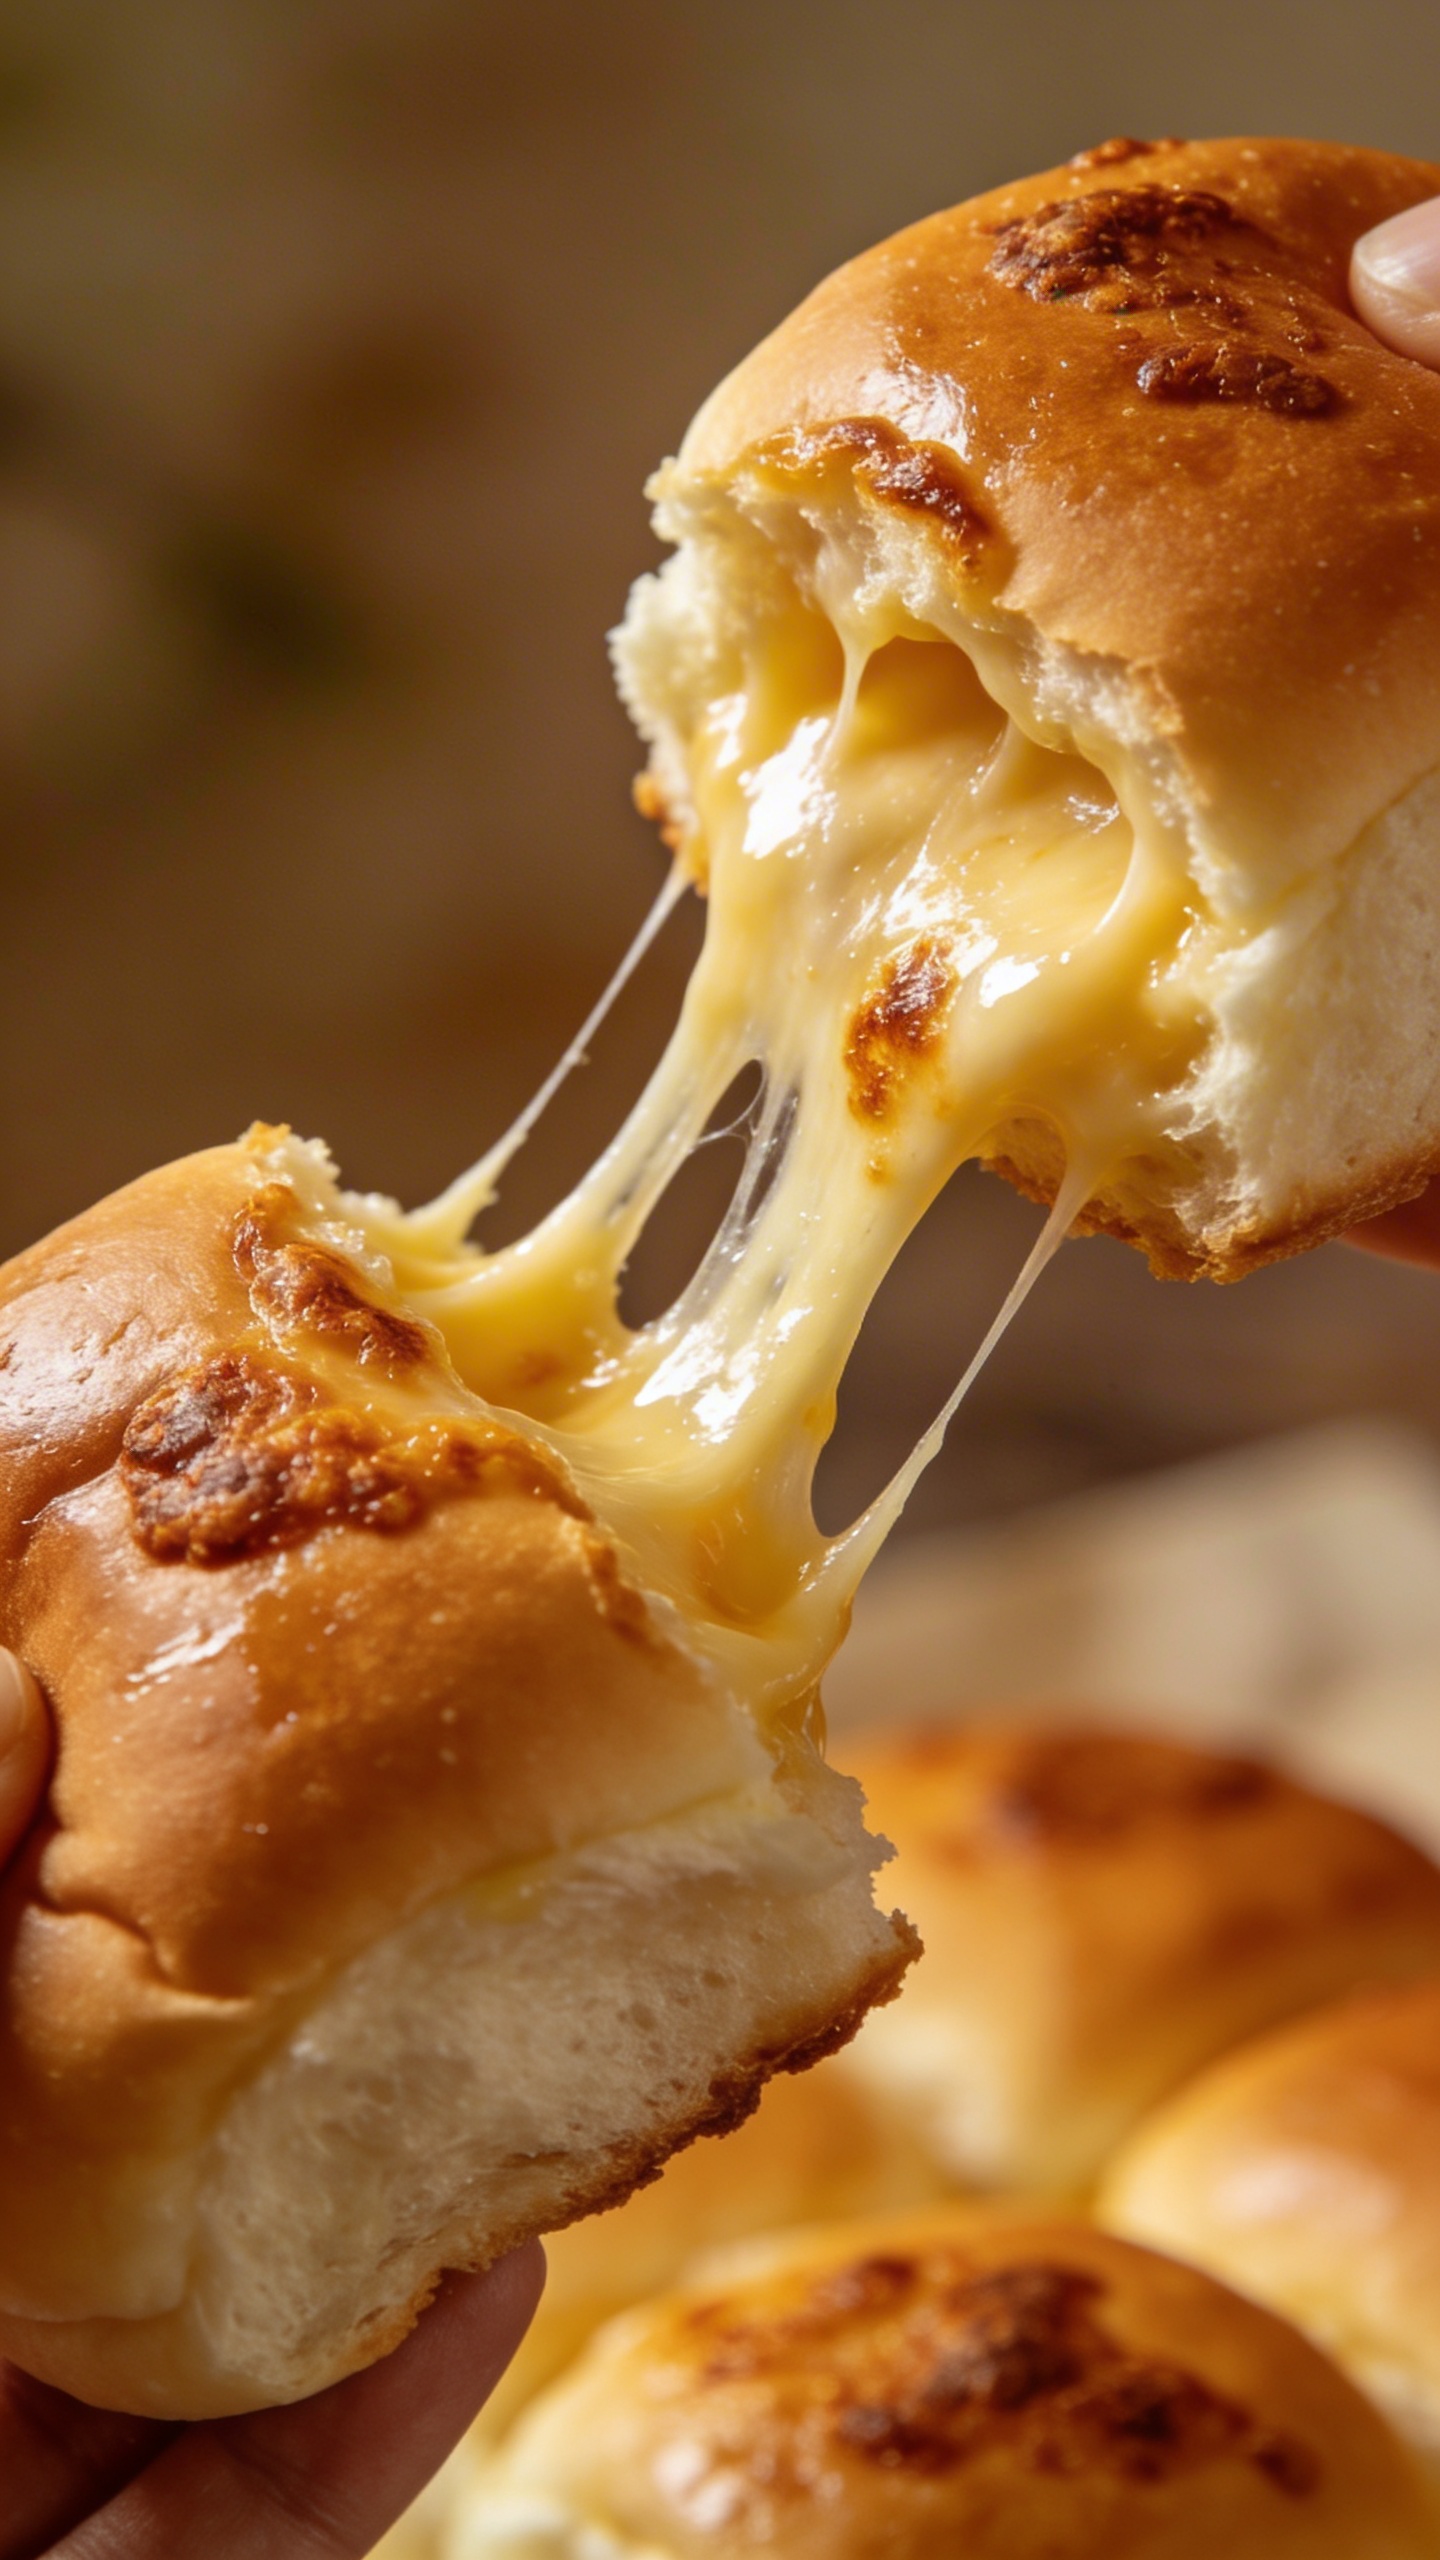
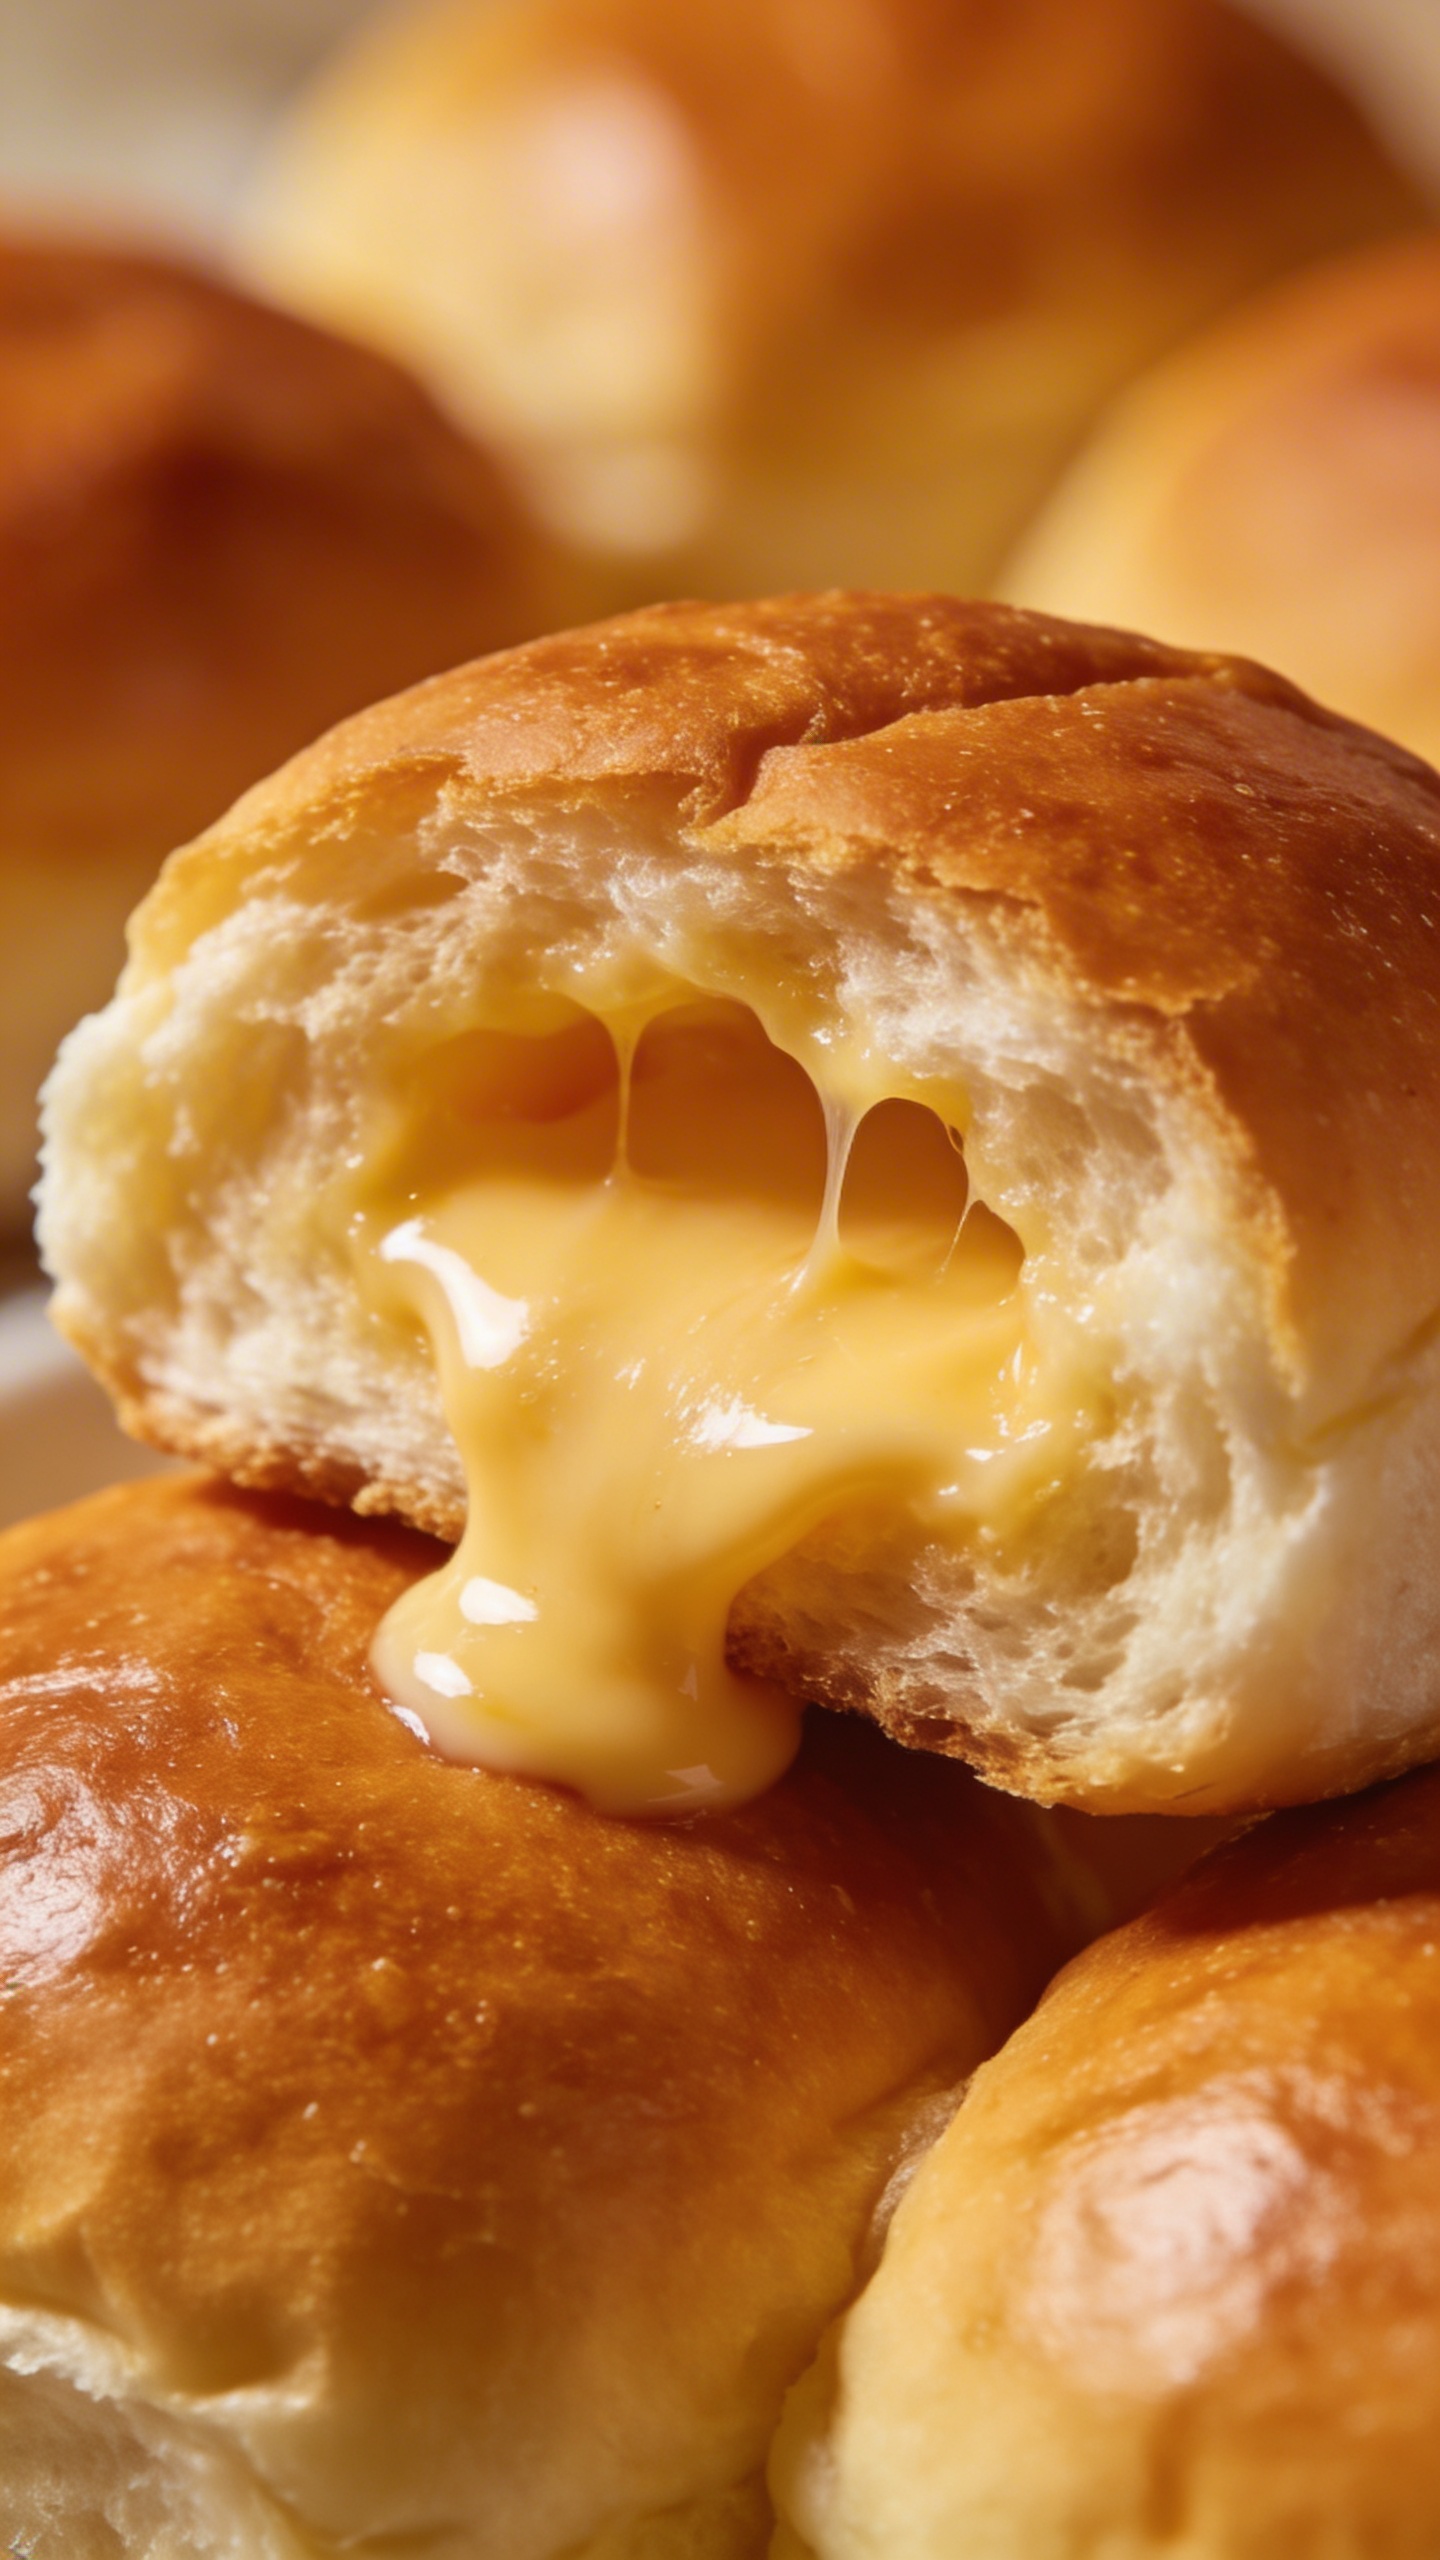
Cheese pulls are the internet’s love language, and the melted Hawaiian roll cheese pull is the ultimate flex. Imagine golden-brown, buttery rolls stuffed with gooey, stretchy cheese—so indulgent it should probably come with a warning label. Whether you’re stress-eating after a long day or showing off at a party, this dish delivers pure comfort food euphoria. Let’s break down why this carb-and-cheese masterpiece deserves a permanent spot in your recipe rotation.
Why Hawaiian Rolls Are the Secret Weapon
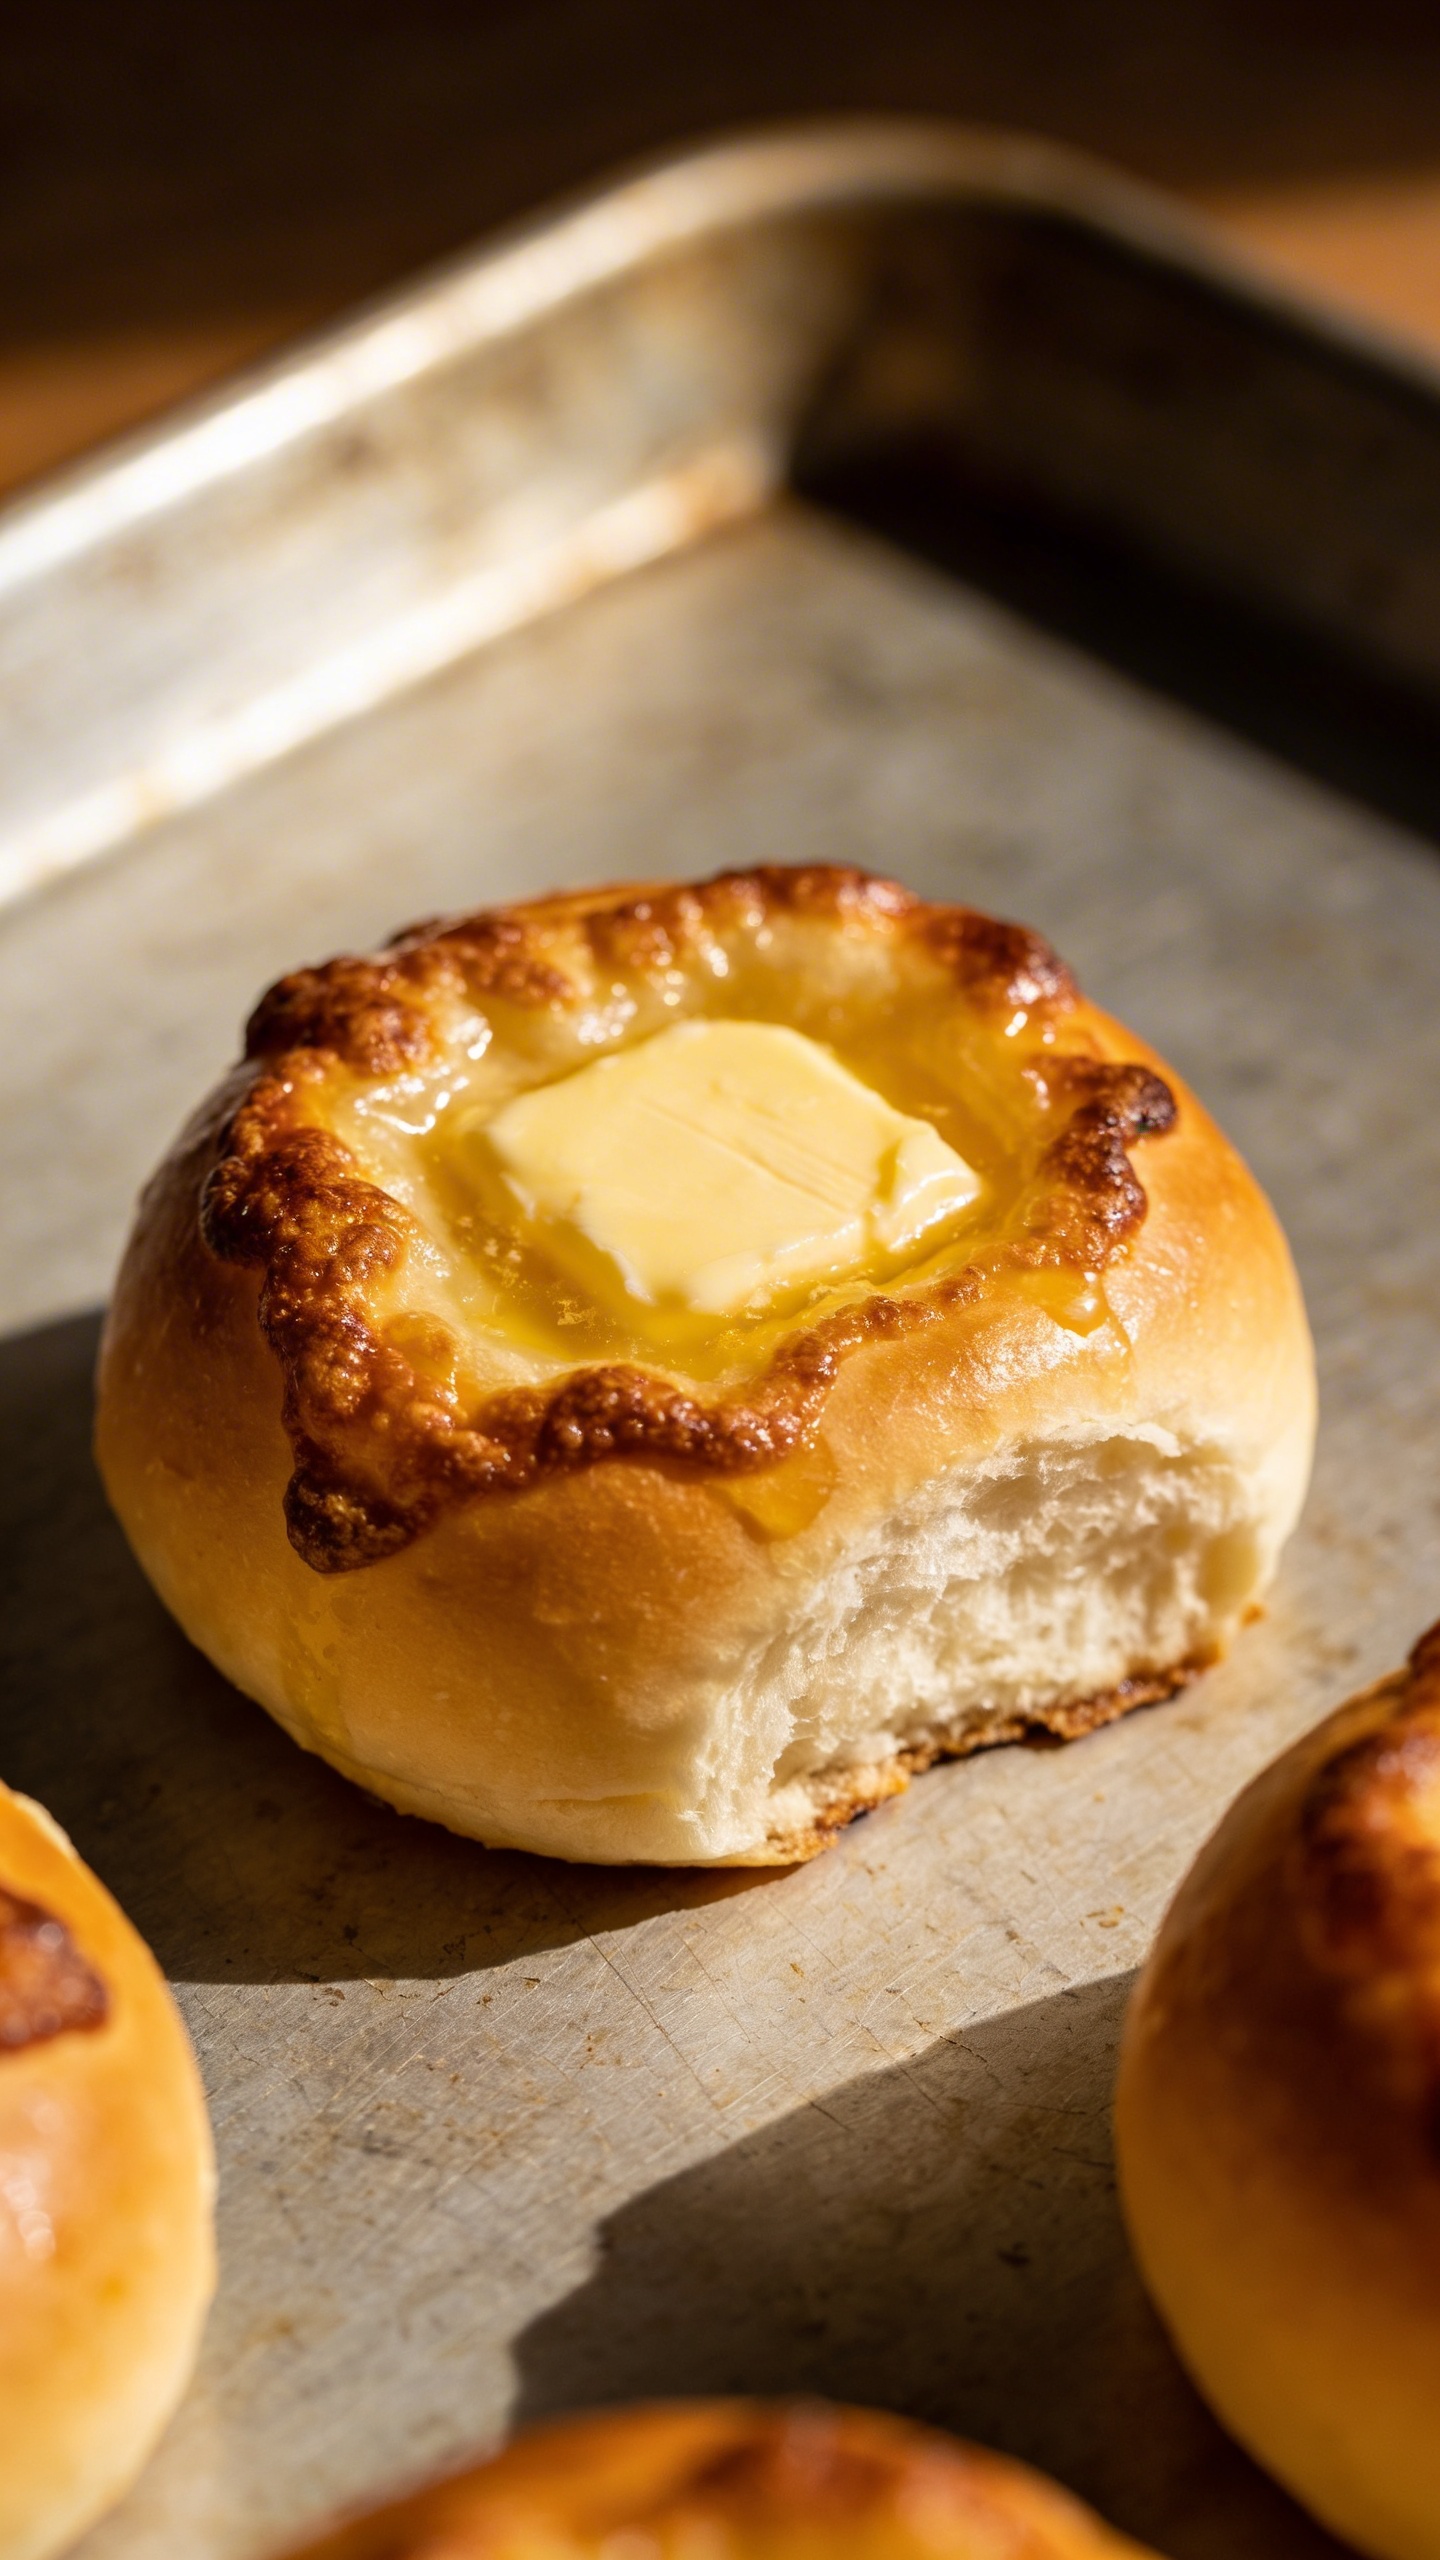
Hawaiian rolls aren’t just sweet, fluffy bread—they’re *magic*. Their slight sweetness balances salty cheese perfectly, and their soft texture turns into a crispy-edged dream when baked. Plus, they’re pre-portioned, so you don’t have to deal with slicing or shaping dough.
Pro tip: Don’t even think about substituting regular dinner rolls. The sweetness and texture of Hawaiian rolls make this dish next-level.
The Best Cheeses for Maximum Pull
Not all cheeses melt equally. You want a mix that stretches like a TikTok trend and tastes like heaven:
- Mozzarella: The MVP of cheese pulls—mild, melty, and ultra-stretchy.
- Cheddar: Adds sharpness and depth (use medium or sharp for the best flavor).
- Gruyère or Swiss: For a nutty, sophisticated twist.
- Cream cheese: Optional, but it adds a luscious, gooey richness.
How to Assemble Your Cheese-Stuffed Masterpiece
This isn’t rocket science, but a few tricks ensure maximum cheesy success:
- Slice the rolls: Keep them connected at the base (like a sheet of rolls) but cut deep enough to stuff generously.
- Layer the cheese: Mix your cheeses for flavor and texture. Don’t skimp—this is *not* the time for moderation.
- Add extras (if you’re fancy): Garlic butter, crispy bacon, or jalapeños take it up a notch.
- Bake until golden: 350°F for 15-20 minutes, or until the cheese is bubbling and the tops are toasted.
The Art of the Perfect Cheese Pull
The pull is the money shot. To achieve Instagram-worthy stretch:
- Let it cool *just* enough so the cheese doesn’t immediately collapse (30 seconds of patience, people).
- Pull slowly from one end—no yanking!
- Film it in slow-mo for maximum drama (optional but highly recommended).
Serving Suggestions: Because You Can’t Eat Just Cheese (Or Can You?)
Let’s be real, this is a meal on its own. But if you want to pretend you’re balanced:
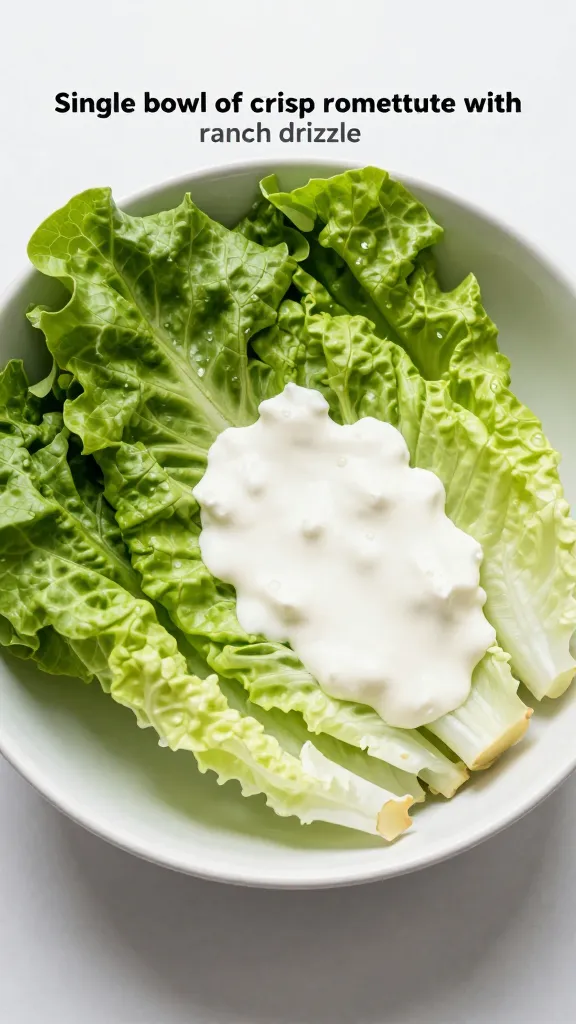
- Pair with marinara or ranch for dipping (because why not?).
- Serve alongside a crisp salad to offset the guilt (lol, who are we kidding?).
- Add a bowl of tomato soup for the ultimate cozy combo.
Common Mistakes (And How to Avoid Them)
Even cheesy perfection has pitfalls:
- Overstuffing: Too much cheese can leak out and burn. Aim for generous but not explosive.
- Undercooking: If the rolls aren’t golden, you’re missing out on texture.
- Using pre-shredded cheese: It contains anti-caking agents that mess with meltiness. Buy blocks and shred your own.
FAQ: Your Burning Questions, Answered
Can I make this ahead of time?
Yes! Assemble it, cover tightly, and refrigerate for up to 24 hours before baking. Add 2-3 extra minutes to the bake time if it’s cold from the fridge.
Can I freeze melted Hawaiian roll cheese pull?
Technically, yes—but the texture won’t be as perfect. If you must, freeze *before* baking, then bake from frozen (add 5-10 extra minutes).
What’s the best cheese combo for kids?
Stick with mozzarella and mild cheddar—it’s crowd-pleasing and not too funky for picky eaters.
Can I use gluten-free rolls?
Absolutely! Just make sure they’re sturdy enough to hold the cheese. Gluten-free Hawaiian-style rolls work well.
Why is my cheese not stretching?
You might have overcooked it or used low-moisture cheese. Fresh mozzarella or a splash of milk before baking helps.
Is this dish basically a lazy grilled cheese?
Yes, and we’re proud of it. Efficiency is a virtue.
Final Thoughts: Embrace the Cheese
Life’s too short for sad, unmelted cheese. The Hawaiian roll cheese pull is stupidly easy, ridiculously delicious, and guaranteed to spark joy (or at least a food coma). Whether you’re feeding a crowd or just yourself—no judgment here—this dish delivers pure, unapologetic comfort. Now go forth and melt something.
The Viral Melted Hawaiian Roll Cheese Pull for Ultimate Comfort Food Bliss
Ingredients
Instructions
-
Preheat oven to 180°C (350°F). Lightly grease a baking dish or line with parchment.
-
Slice the rolls horizontally as one connected slab (do not separate individual rolls). Place the bottom half in the dish.
-
Add the cheese layer evenly over the bottom half — mozzarella first for stretch, then cheddar and other cheeses if using.
-
Add optional fillings (bacon, jalapeños, deli meat) evenly across the cheese.
-
Place the top slab of rolls back on to close the sandwich.
-
Prepare garlic butter by mixing melted butter with minced garlic, parsley, and a small pinch of salt.
-
Brush the tops generously with the garlic butter, letting it drip into the seams.
-
Cover loosely with foil and bake for 15 minutes to melt the cheese.
-
Remove foil and bake 5–8 more minutes until the tops are golden brown and slightly crisp.
-
Rest 30–60 seconds, then pull apart slowly to create the cheese stretch before serving.